

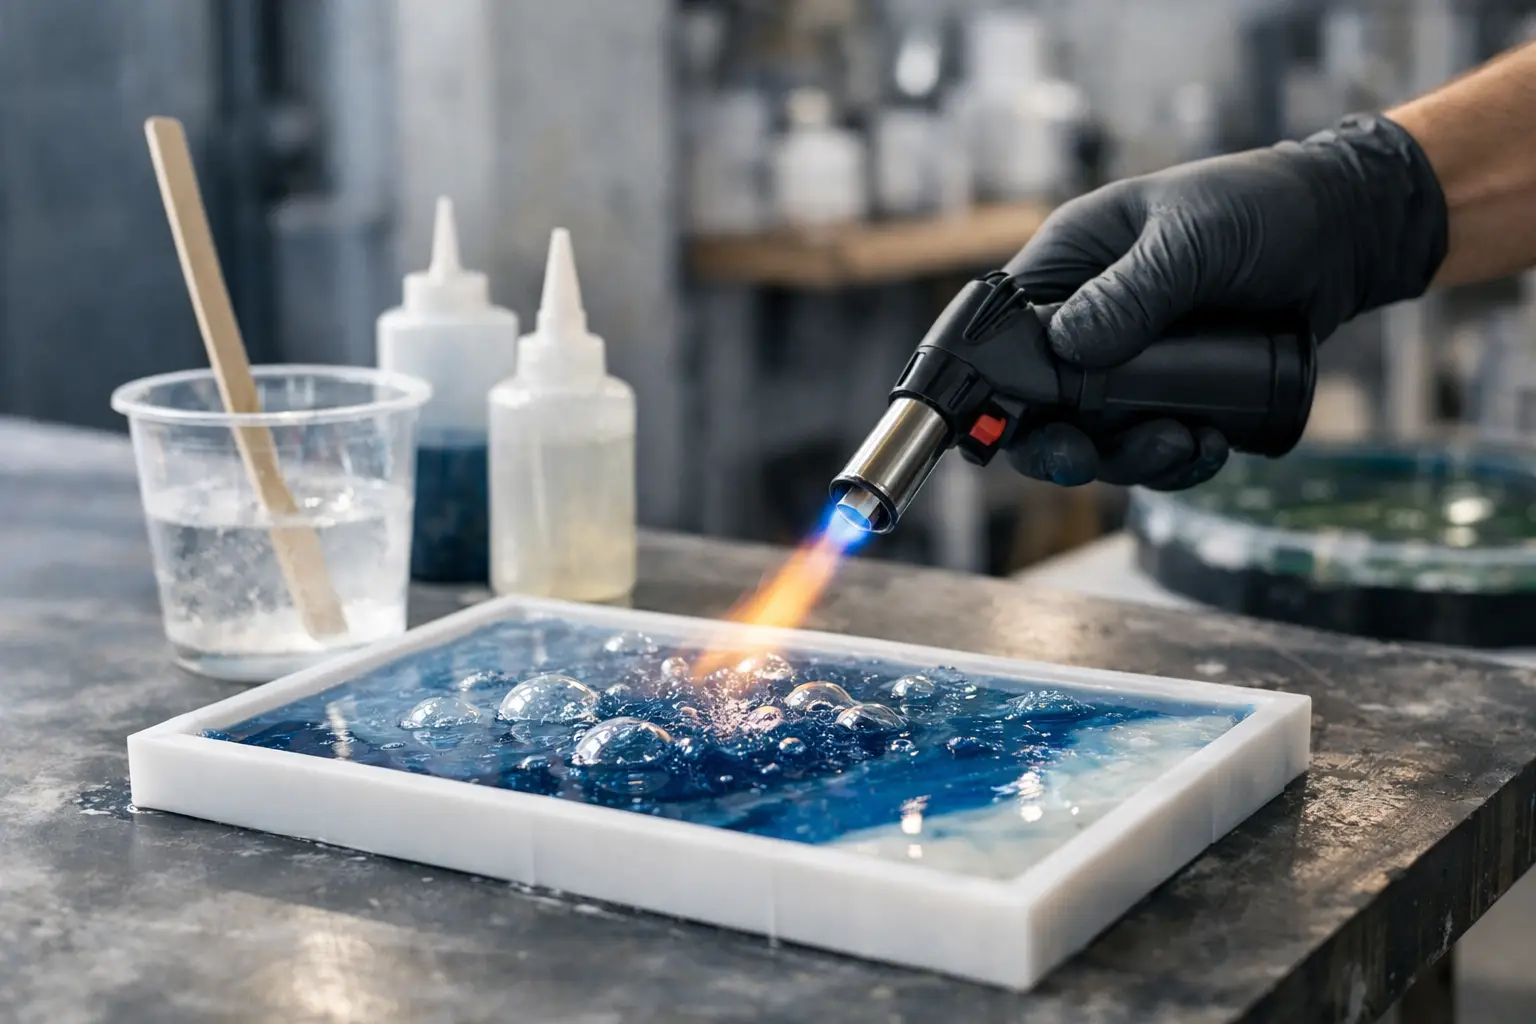
A clear casting can still fail electrically, mechanically, or cosmetically when small bubbles remain trapped in the cured epoxy. In industrial coatings, adhesives, composites, and encapsulation systems, the question of how to reduce epoxy bubbles is not solved by one defoamer or one mixing adjustment. Air entrainment, moisture reaction, substrate outgassing, and cure viscosity can produce similar visible defects, but each requires a different corrective action.
The most reliable approach is to identify when bubbles enter or form in the process, then align resin selection, hardener selection, mixing energy, application conditions, and cure schedule. This prevents repeated rework and avoids adding excessive defoamer that may create secondary surface defects or reduce intercoat adhesion.
Identify Whether the Bubbles Are Air, Gas, or Outgassing
The appearance and timing of the defect provide useful clues. Bubbles seen immediately after high-speed mixing are usually entrained air. They often rise and break if the batch is allowed to stand, warmed moderately, or placed under vacuum. If bubbles appear after the coating or casting has been applied, the issue may be substrate outgassing, poor wetting, or trapped air released from fibers, fillers, and narrow assembly gaps.
Bubbles that develop during or after curing require closer attention. Moisture can react with certain curing agents and isocyanate-containing systems to generate gas. In epoxy systems, moisture may also affect cure consistency, adhesion, and electrical performance even when the surface defect is limited. A cure that advances too quickly can lock small bubbles into place before they have time to escape.
For production troubleshooting, record the point at which bubbles first become visible: after resin transfer, after filler addition, after hardener addition, during application, during oven ramp-up, or after full cure. That observation narrows the corrective work far more effectively than changing multiple formulation variables at once.
Control Moisture Before It Enters the Batch
Moisture control is a primary requirement for low-void epoxy production. Hygroscopic fillers, pigments, fibers, and mineral additives can carry enough water to create foaming, poor dispersion, and inconsistent cure behavior. Open drums, humid warehouses, and repeated container opening can also introduce moisture into raw materials that were initially within specification.
Dry fillers and reinforcement materials according to their chemistry and supplier guidance, then store them in sealed conditions until use. Preheat molds or components when appropriate to remove surface moisture and reduce condensation risk. In electrical encapsulation, even trace moisture deserves attention because voids can reduce dielectric reliability and create partial-discharge risk under service conditions.
The resin and curing agent should also be handled as a controlled system. Use dry transfer lines, sealed mixing vessels, and nitrogen blanketing where the process warrants it. For moisture-sensitive production, verify water content as part of incoming inspection rather than relying only on a supplier certificate. The acceptable limit depends on the resin system, application thickness, curing chemistry, and electrical or structural performance requirements.
Use Mixing Energy That Disperses Without Whipping Air
Mixing must be strong enough to distribute curing agent, pigments, fillers, and additives uniformly. It should not be so aggressive that it continuously pulls a vortex into the liquid. A deep vortex is a direct path for air into the batch, particularly in low-viscosity resin systems.
Start with correct impeller selection and immersion depth. Keep the blade adequately submerged, minimize free-surface turbulence, and use variable-speed control instead of running at maximum speed throughout the cycle. When powders are added, introduce them gradually at the surface or through a suitable powder induction method. Dumping dry filler rapidly into the vessel can trap pockets of air that are difficult to remove later.
High-shear dispersion is sometimes necessary for pigment development or fumed silica incorporation. In that case, separate dispersion and deaeration into distinct process stages. Disperse under the energy required for the material, then reduce speed and hold the batch before vacuum treatment. A low-viscosity liquid epoxy resin can release entrained air efficiently, while a highly filled thixotropic compound may need longer vacuum time, slower mixing, or temperature adjustment.
Match Viscosity to Deaeration and Application Conditions
Viscosity determines how easily bubbles rise to the surface. If the formulation is too viscous at the processing temperature, small bubbles remain suspended and may be fixed during cure. Warming the resin blend moderately can lower viscosity and improve flow, wetting, and bubble release. However, heat also shortens pot life and can accelerate the reaction, so it must be controlled rather than used as a general cure-all.
For example, MTHPA-cured epoxy systems are often selected for low viscosity, long pot life, and strong electrical insulation performance. Those characteristics can support efficient vacuum impregnation and encapsulation when the correct resin-to-hardener ratio, accelerator level, and temperature profile are used. The final process still depends on component geometry, filler loading, and the required cure cycle.
Reactive diluents or lower-viscosity resin grades can improve bubble release, but they involve trade-offs. They may affect glass transition temperature, shrinkage, chemical resistance, mechanical strength, and regulatory requirements. Formulators should evaluate viscosity changes alongside complete cured performance, not only initial appearance.
Apply Vacuum Deaeration Correctly
Vacuum deaeration is effective when it is matched to the formulation. Pulling vacuum immediately after a high-shear mix allows dissolved and entrained air to expand and rise. The batch will often foam first. Use a vessel with sufficient headspace and apply vacuum progressively where needed, especially with filled systems, to prevent overflow and excessive product loss.
Maintain vacuum until the foam rises, collapses, and the bulk material stabilizes. The required time depends on batch size, viscosity, temperature, and the amount of air introduced during mixing. A short vacuum pull may remove large bubbles while leaving fine microbubbles in a high-viscosity material.
Vacuum can also be applied after dispensing or after impregnating a component. For potting and electrical encapsulation, vacuum impregnation helps resin penetrate narrow gaps and porous structures. It is not always suitable for every assembly. Delicate components, volatile additives, or open joints may require lower vacuum levels or a pressure-assisted process instead.
Prevent Substrate and Mold Outgassing
A bubble-free mixed resin can still produce defects when applied to concrete, wood, porous composite, cast metal, or warm electronic assemblies. Air inside the substrate expands or escapes as the epoxy wets the surface, creating pinholes or rising bubbles.
Seal porous substrates with a compatible primer or thin first coat before applying the main epoxy layer. Allow that coat to penetrate and cure according to the system requirements. In composite manufacturing, dry fabrics, cores, and inserts must be evaluated for moisture and trapped air. Use controlled resin flow paths and adequate venting so air can leave the laminate instead of collecting at corners, thickness transitions, and closed features.
Temperature management matters. Applying cool epoxy to a substrate that is warming can encourage outgassing. Where possible, apply during stable or gently falling substrate temperature. For molds, release agents must be applied uniformly and fully dried. Uneven contamination or solvent residue can contribute to localized surface craters that may be mistaken for bubbles.
Select Defoamers as Part of a Balanced Formulation
A defoamer can help break foam and release microbubbles, but it is not a substitute for dry materials and controlled mixing. The wrong chemistry or excessive dosage may cause fish eyes, craters, reduced gloss, haze, or adhesion problems between coats.
Screen defoamers in the actual resin, curing agent, pigment, filler, and application method used in production. Test both immediate air release and the cured surface after the full bake or ambient cure cycle. A product that performs well in a clear casting may behave differently in a pigmented coating or a heavily filled electrical compound.
For high-volume formulation work, keep additive dosage controlled by weight and document the approved supplier grade. Lot-to-lot consistency is especially important when multiple raw materials are sourced across regions. Dahua New Materials supports industrial epoxy systems with MTHPA hardeners, liquid epoxy resins, curing agents, and formulation additives that can be matched to processing and cure requirements.
Set a Cure Profile That Gives Bubbles Time to Escape
Fast heat-up is a common reason small bubbles become permanent voids. As temperature rises, resin viscosity initially decreases, which can help air escape. Once the reaction accelerates, viscosity climbs rapidly and the gel network traps whatever remains. A staged cure can provide a useful flow window before gelation, followed by the higher-temperature stage needed for full cure properties.
The best schedule depends on resin chemistry, hardener type, accelerator level, part thickness, and oven loading. Thick castings generate internal heat and may need a more conservative ramp than thin coatings. Verify the actual part temperature, not only the oven setpoint. This is particularly important for large electrical castings and filled compounds, where exotherm can change both cure behavior and void formation.
A repeatable low-bubble epoxy process comes from disciplined control of material dryness, mixing, viscosity, vacuum, application, and cure. When a defect persists, isolate one stage at a time and use the bubble timing to guide corrective action. That method produces better data, faster formulation decisions, and more dependable output than treating every bubble as a simple defoamer problem.